Mastering Camera Settings for Perfect Portraits
Understanding aperture, shutter speed, and ISO isn't complicated — it's about knowing what each setting does and why it matters for your portraits.
Why Camera Settings Matter
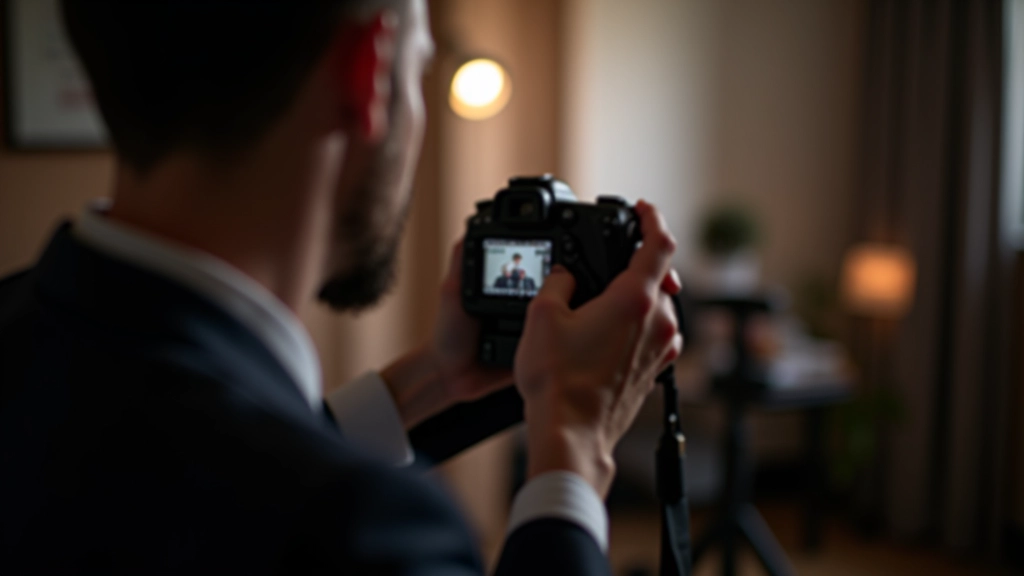
The camera sitting in your hands isn't magic — it's a tool with three main controls that work together to capture light. When you understand how aperture, shutter speed, and ISO interact, you'll stop guessing and start creating the portraits you actually want.
Thing is, most people get overwhelmed by technical jargon. But here's the deal: these settings aren't about memorizing numbers. They're about understanding cause and effect. Change one setting, and it affects your entire image. Knowing what happens before you press the shutter means you're making decisions, not hoping.
The Three Pillars
- Aperture — Controls how much light enters and affects background blur
- Shutter Speed — Determines how long light hits the sensor
- ISO — Adjusts sensor sensitivity to light
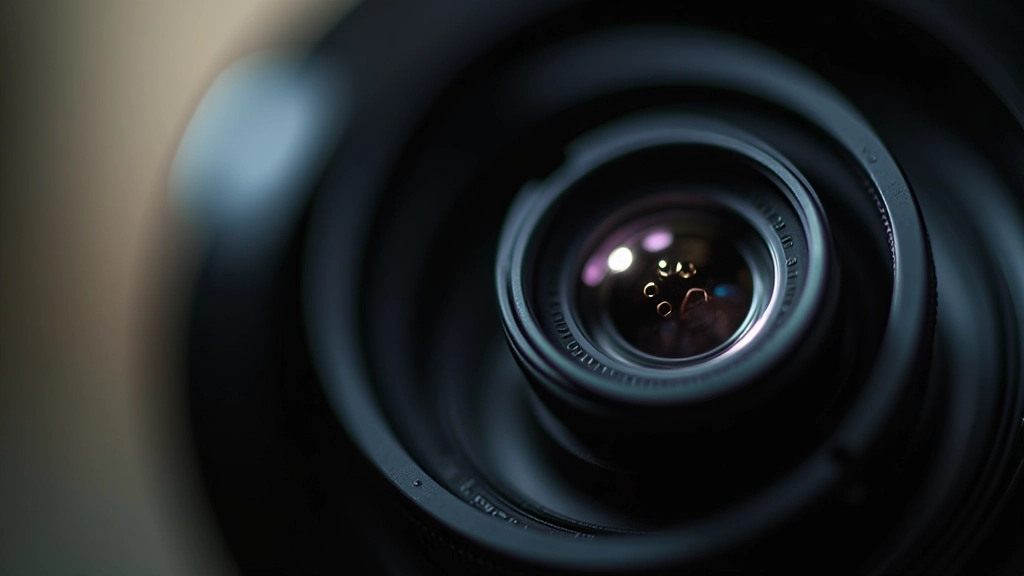
Understanding Aperture: The Gateway to Light
Aperture is measured in f-stops: f/1.8, f/2.8, f/5.6, f/16. Here's what confuses people — lower numbers mean wider openings. So f/1.8 is wide open, letting in tons of light. F/16 is nearly closed, letting in very little.
For portraits, you're probably thinking about background blur. That creamy, out-of-focus background you see in professional photos? That's shallow depth of field, created by wide apertures like f/1.8 or f/2.8. The wider your aperture, the blurrier your background becomes. This separation between subject and background is what makes portraits pop.
But aperture does more than just blur backgrounds. It's your primary light control. In a dark studio, you'll open your aperture wide. In bright outdoor sunlight, you'll close it down to avoid overexposure. Start with f/2.8 for portraits — it gives you a nice background blur without being so wide that you're fighting to keep eyes sharp.
Shutter Speed: Freezing Motion
Shutter speed controls how long the sensor is exposed to light. It's measured in fractions of a second — 1/1000th, 1/500th, 1/125th — or full seconds for long exposures.
For portraits, you're usually trying to freeze motion. If your shutter speed is too slow, you'll get blur. A handheld rule of thumb: don't go slower than 1 divided by your focal length. So if you're shooting with a 50mm lens, stay at 1/50th or faster. Using an 85mm lens? Stick with 1/125th or faster. This prevents camera shake from ruining sharp eyes.
Most portrait sessions happen at speeds between 1/125th and 1/1000th depending on your lighting and aperture. In a well-lit studio, 1/200th is a solid baseline. Outdoors on a bright day? You might need 1/500th or faster to avoid overexposure.
ISO: The Sensitivity Balance
ISO measures how sensitive your sensor is to light. Lower ISOs like 100 or 200 need more light but produce clean, noise-free images. Higher ISOs like 1600 or 3200 work in dim conditions but introduce visible grain or noise.
Start with the lowest ISO your lighting allows. In a studio with strobes, you're probably at ISO 100. In natural window light, you might need ISO 400 or 800. The goal is to expose properly without pushing ISO higher than necessary.
Here's where it gets practical: you're balancing all three settings together. In low light, you might open your aperture to f/2.8, slow your shutter to 1/125th, and push ISO to 800 to get a properly exposed image. In bright sun, you're closing aperture to f/5.6, speeding up shutter to 1/500th, and dropping ISO to 100. They're not independent — they're a system.
Important Note
This guide provides educational information about camera settings for portrait photography. Every camera model, lens, and shooting situation is different. We recommend practicing these settings in your own conditions, consulting your camera's manual, and testing different combinations to find what works best for your specific equipment. Results will vary based on your camera type, available lighting, and personal preferences.
Putting It All Together
Mastering these three settings isn't something that happens overnight. You'll spend sessions experimenting — opening aperture wider, adjusting shutter speed, tweaking ISO — until you develop an intuition for what works.
Start simple. Pick a shooting mode like aperture priority (A or Av mode) where you control aperture and the camera adjusts shutter speed automatically. This lets you focus on one variable while learning. Once you're comfortable, switch to manual mode and take full control.
The best camera setting is the one that lets you focus on your subject, not your settings. When you know your camera well enough that adjusting these three controls becomes automatic, you're free to pay attention to what actually matters — connection, light, and capturing authentic moments with your subjects.
Related Articles