Essential Studio Lighting for Portraits That Stand Out
Master the fundamentals of professional studio lighting to create portraits that capture genuine emotion and showcase your subjects beautifully. Learn the techniques that separate ordinary photos from stunning ones.
Good lighting isn't magic—it's knowledge. When you understand how light shapes faces, reveals texture, and creates dimension, you've got the power to make any portrait sing. We're going to walk through the exact techniques professionals use in studios every single day.
The thing is, you don't need an expensive setup. You need to understand three fundamental concepts: key light, fill light, and how they interact with your subject. Once you grasp these, you can create stunning portraits with basic equipment or premium gear. The principles stay the same.
What You'll Learn
- The three-point lighting system and how it works
- How to position lights for different face shapes
- Creating depth and dimension with shadows
- Practical tips for controlling light quality
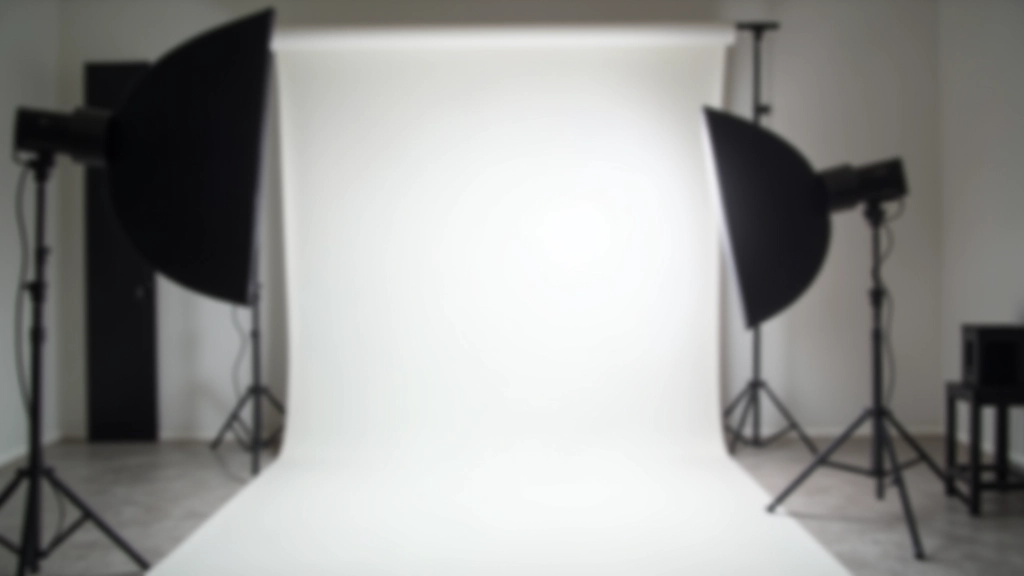
The Three-Point Lighting System
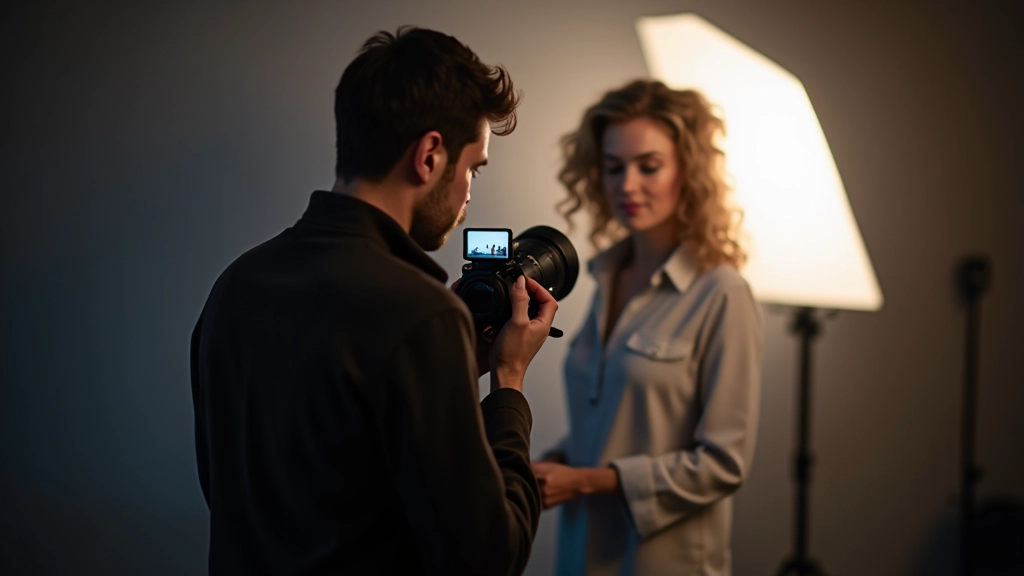
Every professional portrait starts with three lights, though you won't always see all three in the final image. The key light is your main light source—it's typically positioned at a 45-degree angle, about 3-4 feet from your subject. This light creates the primary shadows and reveals face structure.
The fill light does exactly what its name suggests—it fills in shadows created by the key light. You'll want this lighter and positioned on the opposite side. Without fill light, you'd get harsh shadows that look unflattering. The ratio between key and fill is crucial. We usually run about 2:1 or 3:1, meaning the key light is two or three times brighter than the fill.
The back light (also called a hair light or rim light) separates your subject from the background. It's placed behind them, creating a subtle glow around the edges. This isn't always used, but when it is, it adds incredible dimension. It's the difference between a flat portrait and one that jumps off the screen.
Adapting Light Placement for Face Shapes
Here's where it gets interesting. Not every face looks best with the same light positioning. A round face benefits from key light positioned slightly higher and more to the side—this creates shadows that add definition. An oblong face, on the other hand, does better with light positioned more directly, which adds width.
For square faces, you'll want to soften the jawline. Move your key light slightly forward and use more fill light to reduce harsh shadows. For heart-shaped faces (wider forehead, narrower chin), angle your key light down a bit more and position fill light to gently illuminate the chin area.
The real skill isn't memorizing these rules—it's observing how light moves across different features. Spend time watching your subject. Move the light 6 inches left, then right. You'll see how subtle shifts completely change what the camera captures. That's the education you can't get from a book.
Light Quality: Hard vs Soft
This matters more than most people realize. Hard light (direct from a bare bulb) creates sharp, defined shadows. It's dramatic and bold. Soft light (diffused through a softbox or umbrella) creates gentle transitions between light and shadow. Most portrait work uses soft light because it's forgiving and flattering.
Soft Light (Diffused)
Creates gradual shadows, hides skin imperfections, feels natural and approachable. Best for commercial work, family portraits, and editorial shoots.
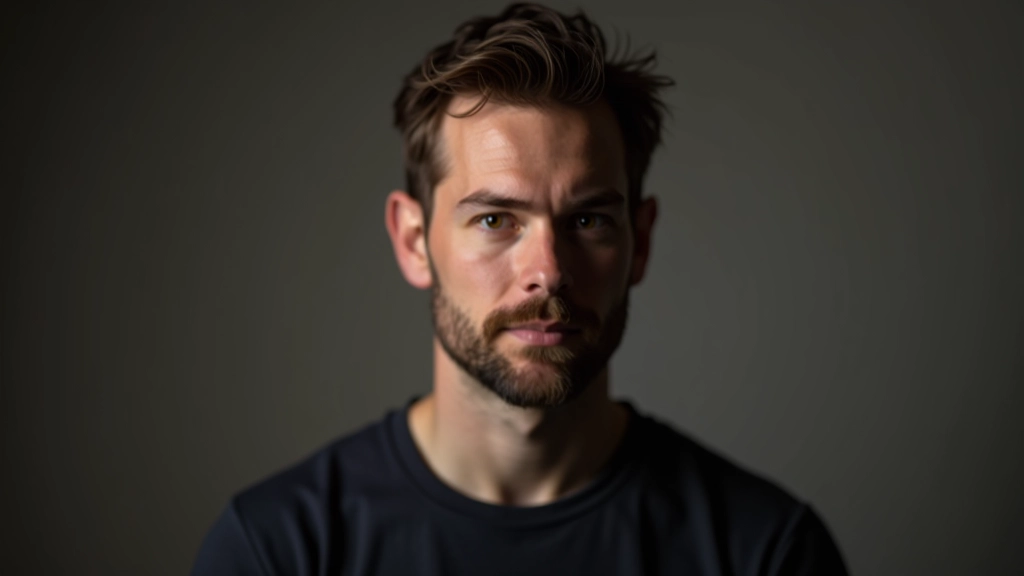
Hard Light (Direct)
Creates dramatic shadows, emphasizes texture and detail, feels moody and artistic. Works for specific styles but requires careful positioning.
A 5-foot softbox creates softer light than a 2-foot softbox at the same distance. Distance matters too—move your light closer and it softens even more. Move it further away and shadows get harder. These aren't theoretical points. You'll see the difference immediately when you shoot.
A Note on Equipment Safety
Professional studio lighting equipment generates heat and requires proper handling. Always ensure lights are properly secured, allow sufficient cooling time between sessions, and keep equipment away from flammable materials. This guide is informational—when setting up your own studio, follow manufacturer safety guidelines and consult with professionals if you're unsure about proper installation or operation of lighting equipment.
Practical Steps to Get Started
Start with One Light
Position a single key light at 45 degrees, about 3-4 feet from your subject. Observe how it shapes the face. Notice the shadows it creates.
Add a Fill Light or Reflector
Position your fill light or white reflector opposite the key light. Adjust it until the shadow side looks natural—not flat, but not harsh either.
Test and Adjust
Take test shots. Move lights in small increments. The smallest adjustments create noticeable changes in your image.
Add a Back Light (Optional)
Once you're comfortable, position a third light behind your subject to separate them from the background. Keep it subtle.


Ready to Improve Your Portrait Photography?
Understanding lighting fundamentals is just the beginning. Explore more photography techniques and discover how professional portraits are created. Connect with us to learn about our photography services or to discuss your specific needs.