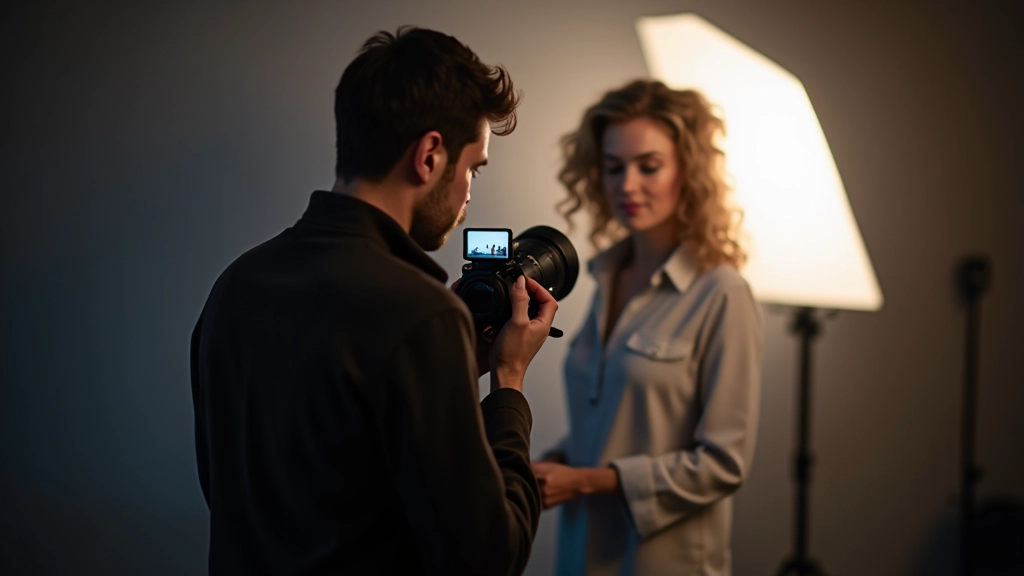
Post-Processing Portraits Without Overdoing It
Learn the subtle art of enhancing skin, correcting color, and refining details without making your portraits look artificial or overly filtered.
Here's the truth: the best edited portraits don't look edited at all. You won't notice them because they look like better versions of reality — not like someone spent three hours in Lightroom with the clarity slider maxed out.
Post-processing is essential. It's where you fix exposure problems, correct skin tones, and bring out the best in your subject. But it's also where things go wrong. Too much sharpening makes skin look plasticky. Too much saturation turns a natural face into a cartoon character. Too much dodging and burning creates strange shadows that don't belong.
The difference between a portrait that looks professional and one that looks overdone comes down to restraint and technique. You don't need to use every tool in Lightroom or Photoshop. You need to know which adjustments actually matter and how to apply them with a light hand.
Start with a Strong Foundation
The most important edit happens before you even open Photoshop. Exposure, white balance, and basic contrast — get these right in Lightroom and you're already 80% there.
If your exposure is off, you'll need to push other sliders further down the line to compensate. That's when things start looking unnatural. A properly exposed image with neutral white balance means less correction needed overall. You're working with what you have, not fighting against a bad starting point.
Spend time on these basics. Use the exposure slider to get skin tones in the right range. Use the white balance tool to correct color casts. Adjust blacks and whites for proper contrast. Once you've got this foundation solid, the rest becomes refinement rather than rescue.
Key insight: Most photographers over-process because their base exposure is off. Spend five extra minutes getting exposure right and you'll spend fifteen fewer minutes fixing everything else.

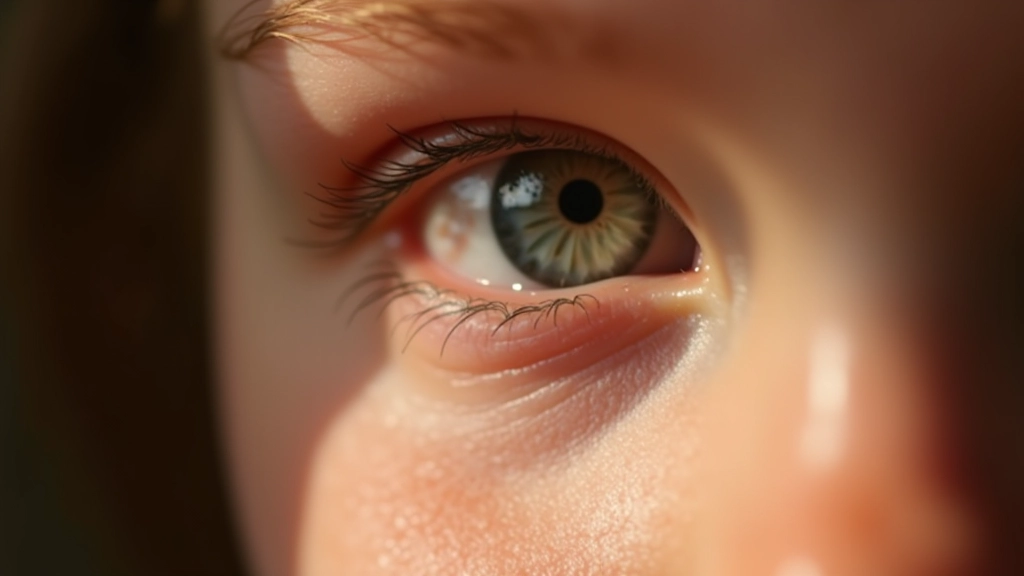
Skin Retouching: The Invisible Touch
Skin retouching is where people go wrong most often. You'll see portraits where the skin looks like porcelain — smooth, featureless, and completely unrealistic.
The goal isn't to make skin look perfect. It's to make skin look like the best version of itself on a good day. That means keeping texture. Real skin has pores, fine lines, and variation in tone. Remove all of that and you've removed the humanity from the portrait.
Use the healing tool or clone stamp for actual blemishes — a pimple, a temporary mark, something that wouldn't normally be there. Don't use it to remove every tiny imperfection. Use frequency separation or clarity reduction on specific areas if you need to smooth without losing detail. Keep the opacity of these adjustments lower than you think — 40-60% often looks better than 100%.
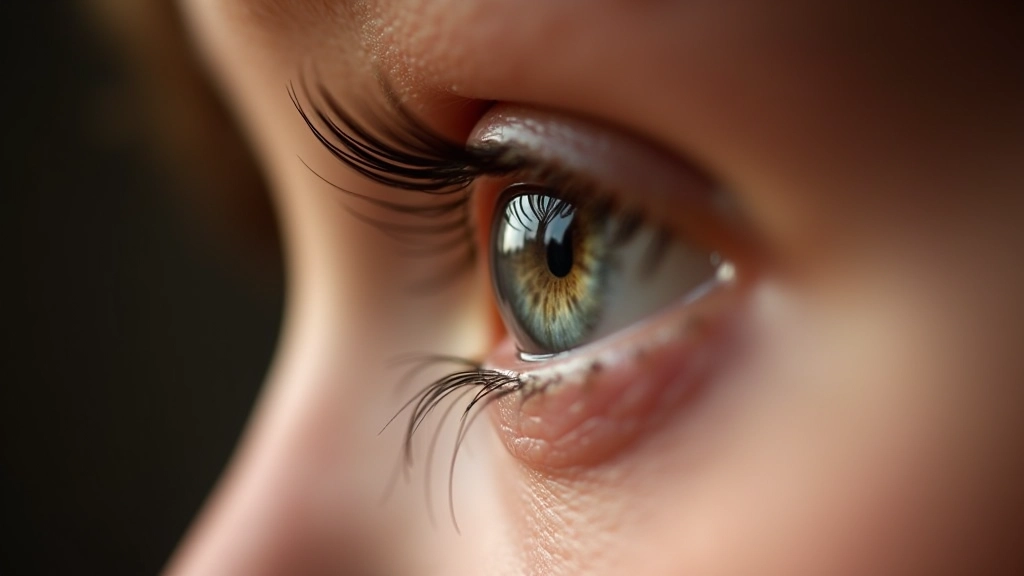
For overall skin tone, dodge and burn is your friend. Light areas of the face (cheekbones, forehead) can be slightly brightened. Shadows (under the chin, sides of the nose) can be subtly darkened. This creates dimension without looking artificial. Use a low opacity brush — maybe 15-20% — and build it up gradually.
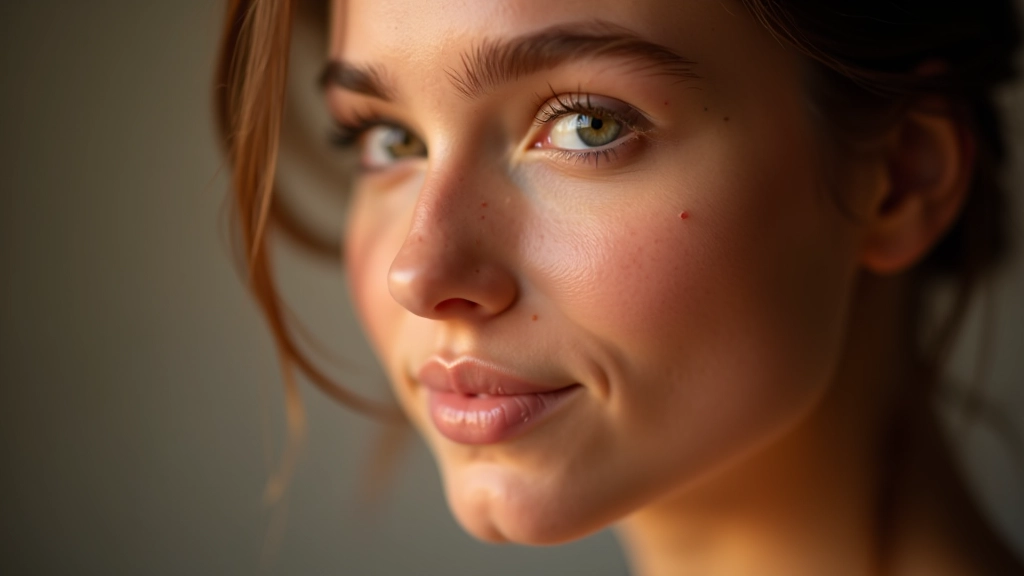
Color Correction Without the Filter Look
A portrait doesn't need a color grade that screams "I used Lightroom presets." In fact, the best color corrections are ones people don't consciously notice.
Start by correcting, not creating. If skin tones are too warm, dial back the warmth slightly — don't swing the temperature slider wildly. If there's a color cast from the lighting, use the color grading panel to neutralize it in the shadows and midtones. Keep highlights relatively neutral unless you have a specific creative reason otherwise.
The teal and orange look? It's a trend, and trends fade. A portrait that's been color-graded to death will look dated in a year. Stick with subtle shifts that enhance without dominating. A slight warmth to skin tones, maybe a touch more saturation in the eyes, a gentle shift in shadow colors — these things add character without screaming "this is heavily edited."
Three-Step Color Process
- Correct white balance first using the temperature and tint sliders
- Add subtle warmth to skin using HSL adjustments (boost reds and oranges slightly, 5-15%)
- Fine-tune shadows with color grading only if needed — resist the urge to add heavy color here

About This Guide
This article shares fundamental post-processing principles and techniques based on professional portrait photography practices. The recommendations provided are educational in nature and represent common industry approaches. Results vary depending on your specific software, hardware, and personal style preferences. We recommend practicing these techniques on your own images and developing your unique editing voice. Your artistic choices and client preferences should always guide your final decisions.
The Philosophy of Restraint
Post-processing is a skill that takes practice. You'll probably over-process for a while — most photographers do. Then you'll dial it back, realize you went too far in the other direction, and eventually find your balance.
The best editors develop a philosophy. They know which adjustments matter for their style, which ones they'll skip, and how much is enough. They can look at an image and know exactly what it needs without touching every slider available.
Start simple. Get exposure and white balance right. Do subtle skin work. Use color correction to enhance, not transform. Apply sharpening with restraint. That's genuinely enough to create professional-looking portraits that'll hold up years from now.
And here's the secret nobody talks about: sometimes the best edit is the one you don't make. If an image looks good at 80% edited, leaving it there instead of pushing it to 100% is often the right call. That's when you know you've learned the real skill.